

You don’t need a pristine laboratory or a set of beakers to introduce your child to the wonders of science. All you really need is a kitchen sink, some common household items, and a healthy dose of curiosity.
As a team of early childhood experts, we believe that the best science experiments for preschoolers don’t happen in a lab—they happen on your kitchen counter.
It’s important to remember that science for young children, especially those in the 3-5 age range, isn’t about memorizing facts or understanding complex concepts like ‘capillary action’.
It’s about learning the process of scientific thinking: observing what happens, predicting what might happen next, and asking “Why?”. This foundational method of discovery is exactly how worksheets help kids learn too; they encourage a cycle of observing, thinking, and doing.
This guide is packed with fun, safe, and incredibly easy science activities for preschoolers that you can do today. We’ve organized them into fun themes, and every single one uses simple items you probably already have. Let’s get ready to make some amazing discoveries!
Your Scientist’s Toolkit (and a FREE Science Journal)
Every great scientist needs a toolkit. For a preschooler, that toolkit isn’t made of beakers and test tubes; it’s made of a set of core thinking skills. Every experiment in this guide is designed to help your child practice one of these seven foundational science concepts in a fun, hands-on way.
The 7 Scientific ‘Superpowers’ Your Child Will Learn
- Observing: Using their five senses to notice what’s happening.
- Comparing: Identifying what’s the same and what’s different.
- Classifying: Grouping similar items together.
- Measuring: Understanding concepts like ‘more’ and ‘less’.
- Communicating: Describing what they saw and what they think happened.
- Inferring: Using clues to make a good guess.
- Predicting: Guessing what might happen next.
The Most Important Tool: A Science Journal
To help your little scientist document their amazing discoveries, our team has created a special tool. It’s a simple, printable journal designed to make them feel like a real scientist. You can download our FREE Printable ‘My First Science Journal’ here. It has dedicated spaces for them to draw their predictions (‘What I think will happen’) and their observations (‘What really happened’).
Many of these experiments also involve basic counting, a skill you can easily practice with our fun animal counting worksheets. And for the most important part of any scientific report—the signature!—your child can get ready by using our name tracing generator to practice their official autograph.
Category 1: Kitchen Chemistry – Fizz, Foam, and Fun!
Your kitchen is a treasure trove of scientific wonders waiting to be discovered. These classic experiments use simple, safe ingredients to create amazing reactions that will have your preschooler wide-eyed with excitement. Don’t forget to use your Science Journal to draw what you think will happen!
1. The Classic Baking Soda & Vinegar Volcano
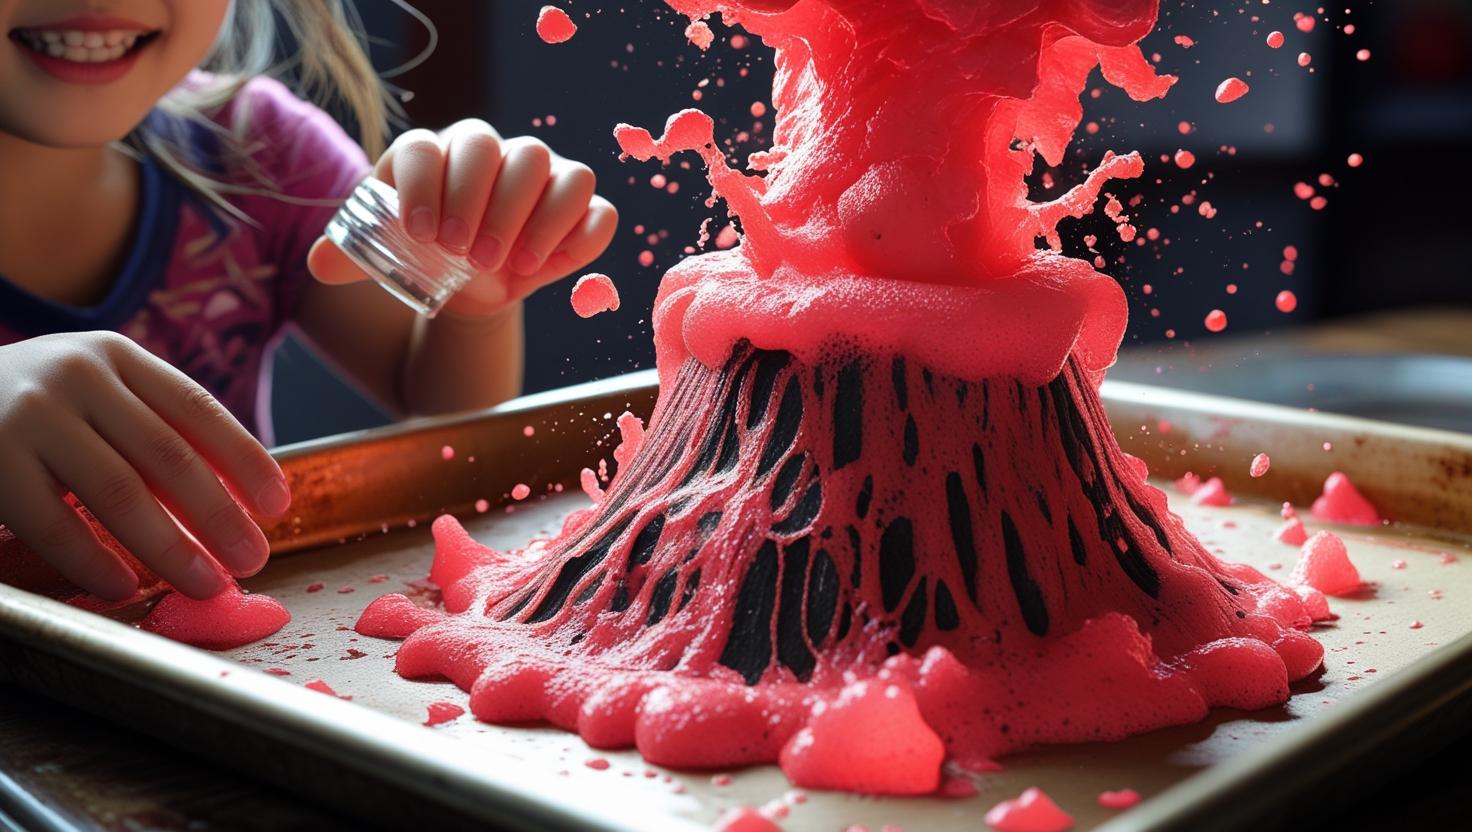
- Materials: A small plastic bottle or cup, a tray to contain the mess, baking soda, vinegar, a few drops of dish soap, and optional red food coloring.
- Steps:
- Place the bottle in the center of the tray.
- Fill the bottle about halfway with warm water, a few drops of dish soap, and the food coloring.
- Add 2-3 tablespoons of baking soda to the bottle and give it a little swirl.
- Get ready! Quickly pour in about half a cup of vinegar and watch the foamy “lava” erupt!
- The Simple Science: When the baking soda (a base) and vinegar (an acid) mix, they have a chemical reaction that releases a gas called carbon dioxide. That gas is what creates all the amazing fizz and bubbles!
2. Magic Color-Changing Milk

- Materials: A shallow dish or plate, milk (whole milk works best), various food colors, and a cotton swab with a drop of dish soap on the tip.
- Steps:
- Pour enough milk into the dish to cover the bottom.
- Add a few separate drops of different food colors onto the surface of the milk.
- Ask your child what they think will happen when you touch the soap to the colors.
- Gently touch the soapy tip of the cotton swab to the center of the milk and hold it there for a few seconds. Watch the colors burst and swirl!
- The Simple Science: Milk has fat in it, and the dish soap loves to chase the fat. As the soap molecules race around trying to connect with the fat molecules, they push the food coloring all over the plate, creating a beautiful, swirling explosion of color.
3. Magic Dancing Rice
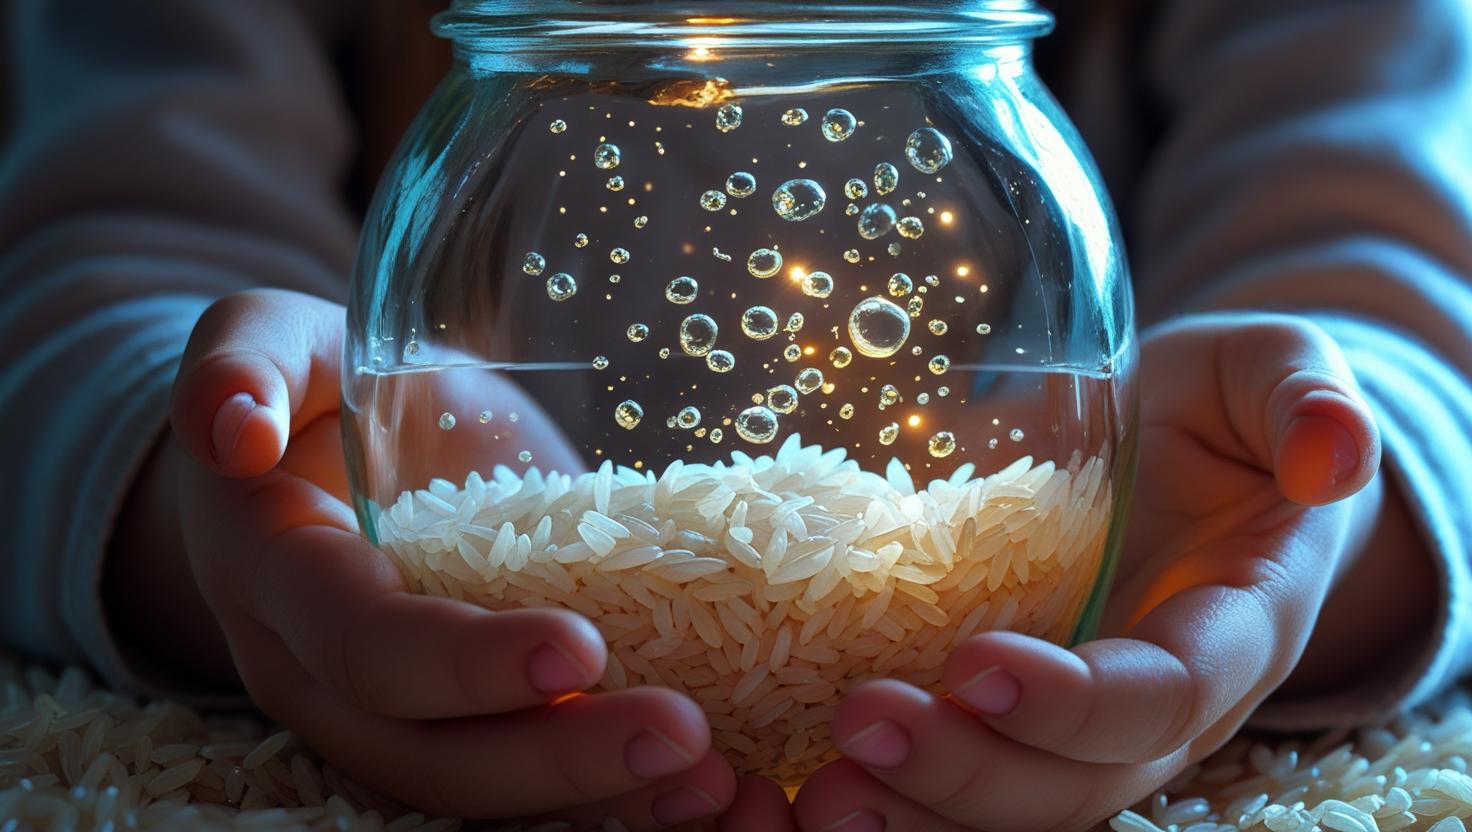
- Materials: A clear jar, water, 1 tablespoon of baking soda, a handful of uncooked white rice, and 2 tablespoons of vinegar.
- Steps:
- Fill the jar about three-quarters full with water.
- Stir in the baking soda until it dissolves.
- Sprinkle in the rice and watch it sink to the bottom.
- Slowly pour in the vinegar and watch what happens. The rice will start to “dance” up and down!
- The Simple Science: Just like the volcano, the vinegar and baking soda create carbon dioxide bubbles. These tiny bubbles act like little “life jackets,” attaching to the rice and lifting it to the surface. When the bubbles pop at the top, the rice sinks back down, and the dance starts all over again.
4. The Disappearing Eggshell
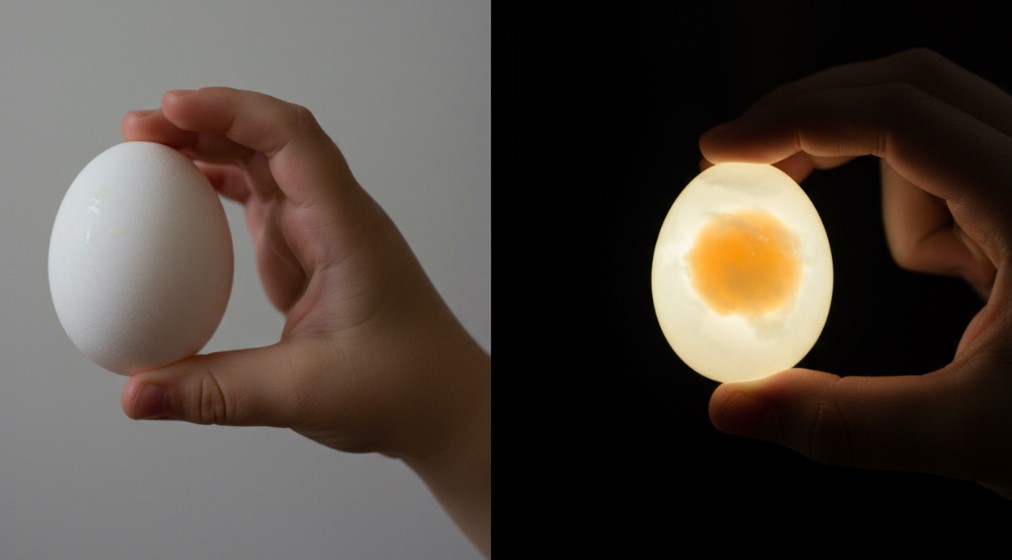
- Materials: A raw egg, a clear jar or glass, and enough white vinegar to cover the egg.
- Steps:
- Carefully place the raw egg in the empty jar.
- Slowly pour vinegar over the egg until it’s completely submerged.
- Observe immediately! You’ll see tiny bubbles forming on the shell. This is the reaction starting.
- Leave the jar in a safe place for 24-48 hours. When you come back, the hard shell will have completely dissolved, leaving a rubbery, bouncy ‘naked’ egg!
- The Simple Science: The eggshell is made of calcium carbonate. The vinegar is a mild acid that reacts with the calcium carbonate and dissolves it, releasing carbon dioxide gas (the bubbles you see).
5. Homemade Gooey Slime

- Materials: A bowl, 1/2 cup of clear school glue, 1/2 cup of water, 1/2 teaspoon of baking soda, and 1 tablespoon of contact lens solution (must contain boric acid). Optional: a few drops of food coloring.
- Steps:
- In the bowl, mix together the glue and the water. Add food coloring now if you’re using it.
- Stir in the baking soda until it’s fully dissolved.
- Now for the magic! Slowly add the contact lens solution and stir. The mixture will instantly start to thicken and pull away from the sides of the bowl, forming slime.
- Knead the slime with your hands for a minute or two until it reaches the perfect consistency.
- The Simple Science: The boric acid in the contact lens solution is an ‘activator’. It links all the long polymer molecules in the glue together, changing them from a liquid into a stretchy, rubbery solid (slime!).
6. DIY Rock Candy

- Materials: A glass jar, 1 cup of water, 2-3 cups of sugar, a wooden skewer or a piece of string tied to a pencil.
- Steps:
- With an adult’s help, bring the water to a simmer in a saucepan (don’t boil).
- Slowly stir in the sugar, a little at a time, until no more sugar will dissolve. You’ve created a ‘supersaturated’ solution.
- Carefully pour the hot sugar water into the glass jar.
- Wet the skewer or string and roll it in sugar to ‘seed’ it. Suspend it in the jar so it hangs in the middle without touching the sides or bottom.
- Place the jar in a quiet spot for several days and watch as beautiful sugar crystals grow!
- The Simple Science: You dissolved more sugar in the hot water than cold water could normally hold. As the water cools and evaporates, the extra sugar needs a place to go. It ‘grabs onto’ the seed crystals on your string and builds large, delicious crystals in a process called crystallization.
7. The Everlasting Gobstopper (Dissolving Experiment)

- Materials: Several clear cups, warm water, and a variety of small items to test (e.g., a sugar cube, salt, sand, a small pebble, a piece of flour tortilla).
- Steps:
- Fill each cup with the same amount of warm water.
- Use your Science Journal to predict which items will dissolve (disappear) and which will not.
- Place one item in each cup and stir gently.
- Observe for a few minutes. Which items ‘vanished’ and which ones are still there? Compare the results to your predictions.
- The Simple Science: This is a simple lesson in solubility. Some substances, like salt and sugar, are soluble, meaning their molecules are pulled apart by the water molecules until they are too small to see. Other substances, like sand, are insoluble, and their molecules stay together.
Category 2: Backyard Physics – Sink, Float, and Fly!
You don’t need a wind tunnel or a wave tank to explore the basic principles of physics. These fun, hands-on science experiments for preschoolers are perfect for a sunny afternoon in the backyard or even in the bathtub, and they teach powerful lessons about how the physical world works.
8. The Classic ‘Sink or Float?’ Challenge
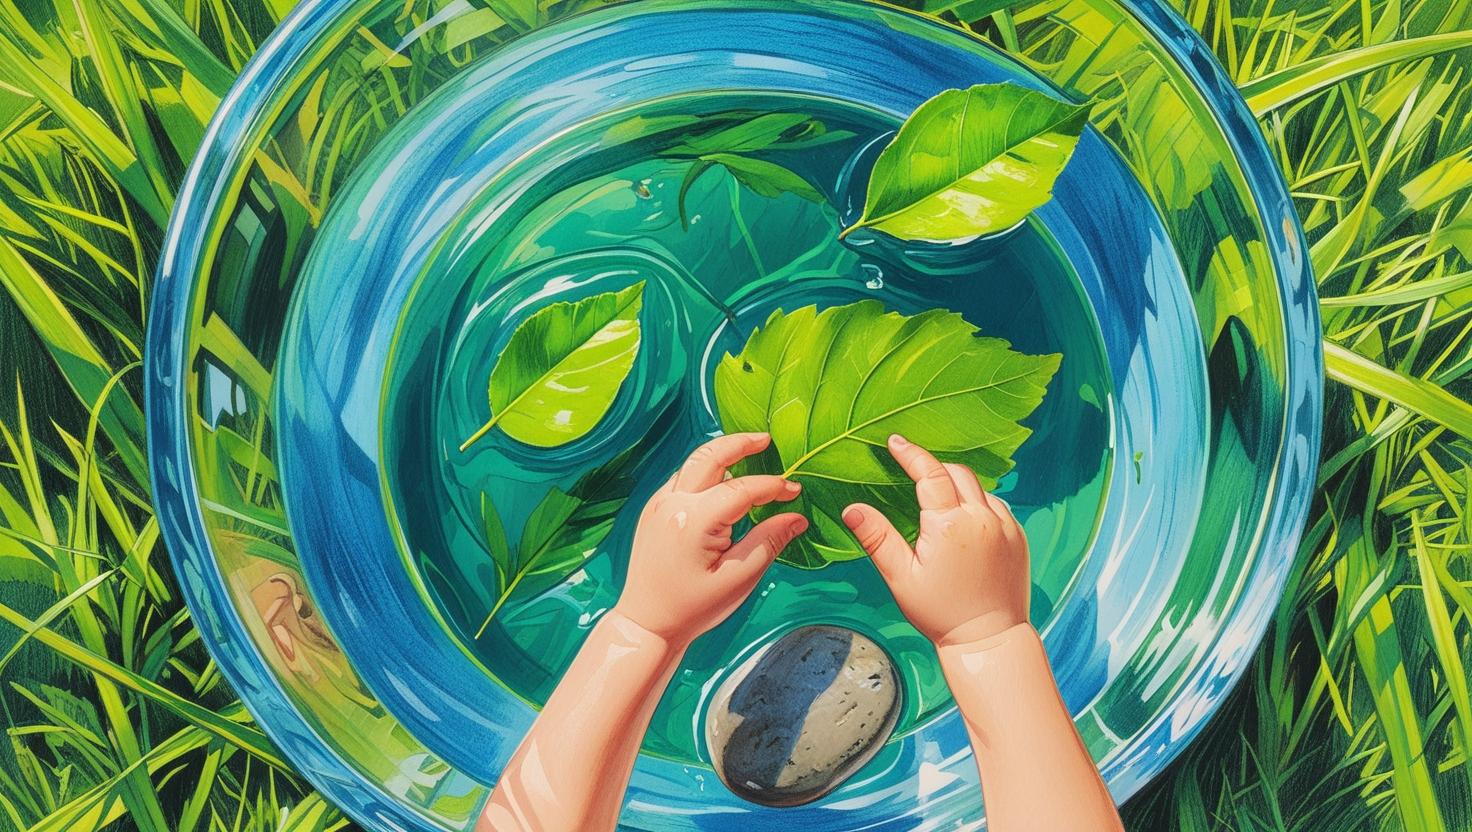
- Materials: A large tub or bucket of water and a collection of various small, waterproof items (e.g., a crayon, a leaf, a small plastic toy, a coin, a rubber duck, an apple).
- Steps:
- Before you start, lay out all the items. Ask your child to predict which ones will sink and which will float. This is a great time to use your Science Journal!
- One by one, have your child gently place each item into the water and observe what happens.
- Create two piles on the ground: a ‘sink’ pile and a ‘float’ pile. Compare the results to their predictions.
- The Simple Science: This experiment is all about density. Objects that are less dense than water (like the apple and the leaf) will float. Objects that are more dense than water (like the coin and the crayon) will sink.
9. The Leak-Proof Bag Trick
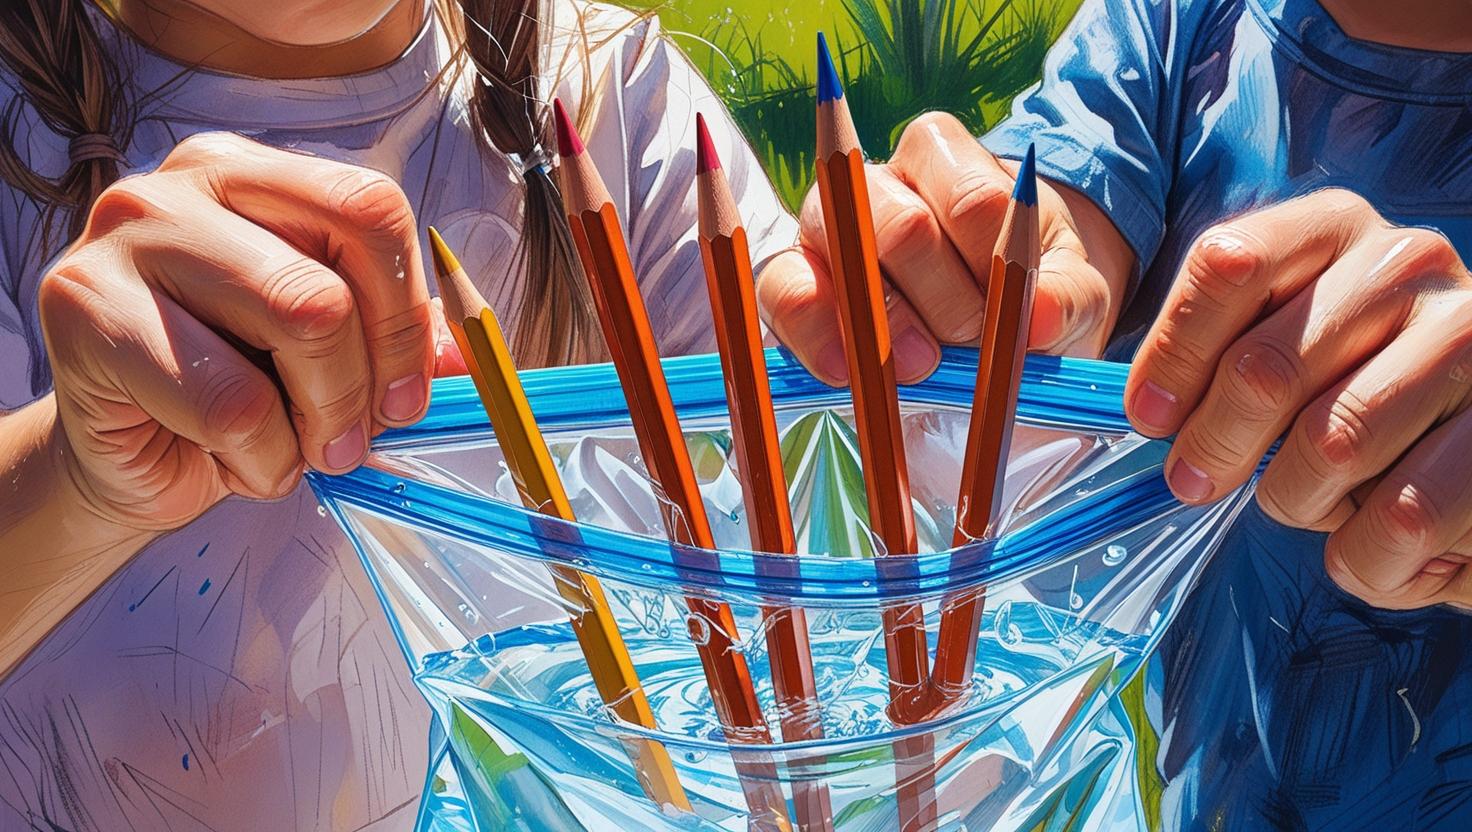
- Materials: A zip-top plastic bag (like a Ziploc), water, and several sharply pointed pencils. (This one is best done outside!)
- Steps:
- Fill the zip-top bag about halfway with water and seal it tightly.
- Hold the bag up by the top. Ask your child the big question: “What do you think will happen if I poke this sharp pencil all the way through the bag?”
- Take a deep breath and quickly and firmly push a pencil all the way through one side of the bag and out the other. Amazingly, no water will leak out!
- Let your child try poking a few more pencils through.
- The Simple Science: The plastic bag is made of long, flexible chains of molecules called polymers. When the sharp pencil pokes through, these flexible molecules instantly form a tight seal around it, preventing the water from escaping.
10. The ‘Strong Shapes’ Engineering Test
- Materials: Three pieces of regular paper, tape, and a small stack of books.
- Steps:
- Help your child fold the pieces of paper into three different “columns”: one with a circular base (a cylinder), one with a square base, and one with a triangular base. Secure the edges with a small piece of tape.
- Stand the three paper shapes up. Ask your child to predict which shape they think is the strongest.
- Carefully start placing books, one at a time, on top of each shape until it collapses. You will find that the circular column is by far the strongest!
- The Simple Science: This is a simple engineering lesson! The circular shape of the cylinder has no corners or edges, so it distributes the weight of the books evenly all the way around. The corners on the square and triangle create weak points where the paper is more likely to buckle under pressure.
11. Hands-On Air Pressure Popper
- Materials: A plastic bag (a produce bag from the grocery store works well), two kitchen sponges, a plastic straw, and a pom-pom or cotton ball.
- Steps:
- Place the two sponges inside the plastic bag.
- Position the straw between the sponges so that one end is inside the bag and the other end is sticking out of the opening.
- Seal the bag tightly around the straw with tape.
- Blow into the straw to inflate the bag with air.
- Place the pom-pom on the table in front of the straw’s opening. Press down hard and fast on the sponges. The pom-pom will shoot forward!
- The Simple Science: When you press on the bag, you are forcing the air inside to rush out through the only available exit: the straw. This powerful gust of air is called air pressure, and it’s strong enough to push the lightweight pom-pom across the table.
12. The Static Electricity Comb
- Materials: A plastic comb, a head of clean, dry hair, and tiny pieces of tissue paper.
- Steps:
- First, hold the comb just above the pieces of paper. Observe that nothing happens.
- Now, vigorously comb your (or your child’s) dry hair for about 15 seconds.
- Immediately hold the comb just above the paper pieces again. This time, they will magically jump up and stick to the comb!
- The Simple Science: Combing your hair creates friction, which builds up invisible particles called electrons on the comb. This creates static electricity. The static electricity is strong enough to attract and lift the lightweight pieces of paper.
13. The Floating Egg Density Test
- Materials: A tall, clear glass, water, salt, a spoon, and a raw egg.
- Steps:
- Fill the glass about halfway with regular tap water.
- Gently place the egg in the water and watch it sink to the bottom.
- Remove the egg. Now, stir several tablespoons of salt into the water until it dissolves.
- Gently place the egg back into the salt water. This time, it will magically float!
- The Simple Science: This is another experiment about density. The egg is naturally denser than plain water, so it sinks. But when you add salt, you make the water much denser. The egg is now less dense than the salt water, which allows it to float.
14. Shadow Play and Tracing
- Materials: A sunny day, a piece of paper, a pencil, and a few small toys (like animal figures or blocks).
- Steps:
- Go outside on a sunny afternoon when shadows are long.
- Place a toy on the edge of the paper so that its shadow falls across the page.
- Show your child how they can trace the outline of the shadow with a pencil.
- Move the object and see how its shadow changes shape and size.
- The Simple Science: This is a simple lesson on how light works. An object creates a shadow when it blocks the path of light from the sun. The shape and size of the shadow change depending on the angle of the sun in the sky.
Category 3: Art & Nature Science – Colors & Plants!
Some of the most beautiful science experiments are the ones that combine scientific principles with the wonders of nature and art. These activities are not only educational but also create a beautiful final product, making them extra rewarding for your preschooler.
15. The Walking Water Rainbow
- Materials: Six clear cups, water, paper towels, and red, yellow, and blue food coloring.
- Steps:
- Arrange the six cups in a circle. Fill every other cup (three total) about three-quarters full with water.
- Add red food coloring to the first cup of water, yellow to the second, and blue to the third.
- Take a paper towel, fold it into a strip, and place one end in the red cup and the other end in the empty cup next to it.
- Continue this process, creating a “bridge” of paper towels connecting each cup to the next, forming a full circle.
- Now, observe! Over the next hour or two, the colored water will “walk” along the paper towels, and the colors will mix in the empty cups, creating a full rainbow (red and yellow will make orange, yellow and blue will make green, etc.).
- The Simple Science: This is a beautiful demonstration of capillary action. The paper towel is made of fibers with tiny gaps between them. The water is “pulled” up through these gaps, against gravity, carrying the food coloring with it.
16. The Seed in a Jar
- Materials: A clear glass jar, paper towels, and a few large beans (like lima or kidney beans).
- Steps:
- Dampen a few paper towels (they should be wet, but not dripping).
- Roll the damp paper towels up and place them inside the jar so they line the walls.
- Gently wedge a bean between the glass and the paper towel. This allows you to see the roots and sprout as they grow.
- Place the jar in a sunny spot. Keep the paper towels damp by adding a little water every day.
- In just a few days, your child will be able to see a root emerge, followed by a sprout.
- The Simple Science: This is a perfect window into germination. It shows a child that a plant doesn’t need soil to start growing; it just needs water, warmth, and light to ‘wake up’ the seed and start its life cycle.
17. The Magic Blooming Flower
- Materials: A piece of paper, crayons, and a shallow dish of water.
- Steps:
- Draw a simple flower with large petals on the paper and have your child color it in.
- Cut out the flower.
- Fold each petal into the center of the flower, as if it’s a closed bud.
- Place the folded paper flower gently onto the surface of the water and watch. In a few moments, the flower will magically “bloom” as the petals open up!
- The Simple Science: This is another example of capillary action. The dry paper fibers absorb the water. As the fibers on the bottom of the fold get wet, they swell and expand, pushing the folded petals open.
18. DIY Penny Boat Challenge
- Materials: A sheet of aluminum foil (about 12×12 inches), a tub or sink filled with water, and a large collection of pennies.
- Steps:
- Help your child shape the aluminum foil into a simple boat shape. Encourage them to make sturdy walls.
- Gently place the foil boat into the water. It should float easily.
- Now, the challenge begins! One by one, have your child add pennies to the boat, counting as they go.
- Continue adding pennies until the boat finally sinks. See how many pennies your boat could hold! Try building a new boat with a different shape to see if you can hold more.
- The Simple Science: This is a fantastic lesson in buoyancy and displacement. The boat floats because its large, hollow shape displaces (pushes aside) a lot of water. It sinks when the total weight of the boat and the pennies becomes greater than the buoyant force of the water pushing up on it.
19. The Water Xylophone
- Materials: 4-5 identical glass jars or cups, water, a spoon, and optional food coloring.
- Steps:
- Line up the glass jars.
- Fill each jar with a different amount of water. The first jar should have just a little, the next a bit more, and so on, until the last jar is almost full. (Adding a different color of food coloring to each jar makes it more fun!).
- Gently tap the side of each glass with the spoon and listen. Each glass will produce a different musical note!
- Let your child experiment with tapping the glasses to create their own music.
- The Simple Science: This experiment is all about sound and vibration. The sound is created by the glass vibrating. The more water in the glass, the slower the glass vibrates, which creates a lower-pitched sound. Less water allows the glass to vibrate faster, creating a higher-pitched sound.
20. The Thunderstorm in a Jar
- Materials: A large, clear jar, water, shaving cream, and blue food coloring.
- Steps:
- Fill the jar about three-quarters full with water.
- Spray a layer of shaving cream on top of the water to create a fluffy “cloud.”
- Now, use a dropper or a spoon to add several drops of blue food coloring on top of the shaving cream cloud.
- Be patient and watch! As the cloud becomes saturated, the blue “rain” will begin to fall down through the shaving cream and into the water below.
- The Simple Science: This is a simple model of how rain works. Real clouds are made of water vapor. When they collect more and more water (saturation), they get heavy. Eventually, the water is released and falls to the earth as rain.
Conclusion: The Adventure of Discovery
The goal of these easy science experiments for preschoolers is not to raise a future Nobel laureate (though that would be great!). The goal is to nurture your child’s innate curiosity and to show them that the world is a fascinating, magical place full of amazing things to discover. It’s about fostering a love for asking questions and the confidence to seek out the answers.
By turning your kitchen into a simple lab, you are doing more than just teaching science concepts; you are creating memories, building a connection, and teaching them that learning is a joyful, hands-on adventure. Keep it playful, celebrate the process over the product, and enjoy the wonder in their eyes.
As your child’s curiosity grows, you’ll find they are eager for more and more learning activities. To support their journey in every developmental area, from science and math to literacy, our complete bundle of educational worksheets is packed with hundreds of fun, engaging pages to keep the adventure going.